
Most print on demand sellers eventually hit the same wall. Vinyl looks flat on dark garments, screen printing punishes you with minimums, and sublimation only works on polyester. DTF printing, short for direct to film, solved that problem for a lot of small shops, and it did it without asking for a 50-piece order upfront. The catch is that DTF has its own rules, and ignoring them produces transfers that crack, wash out, or feel like a sheet of plastic glued to a shirt. This guide walks through what actually happens inside the process, so you can decide whether it belongs in your production line and how to run it well.
What DTF Printing Actually Is
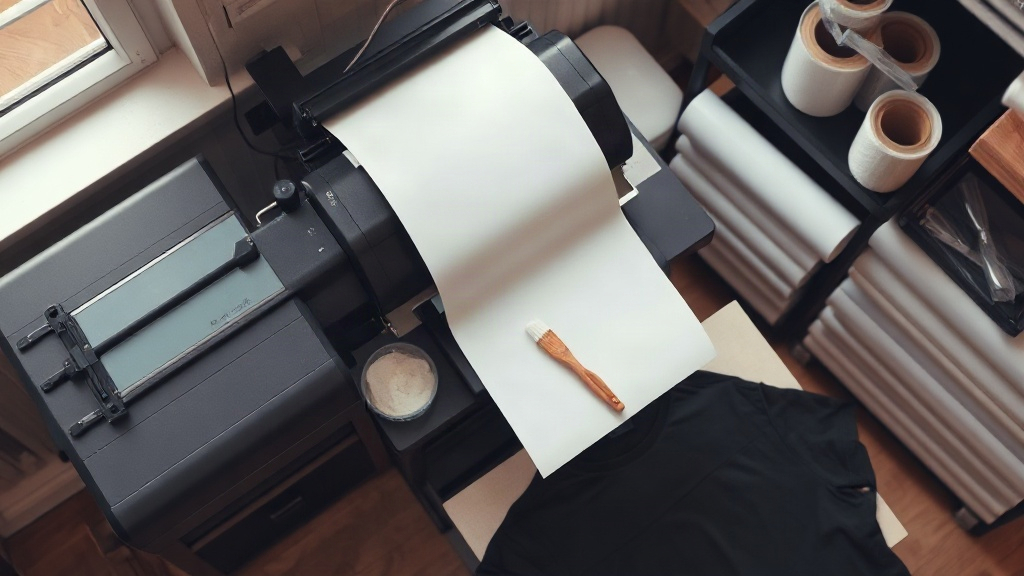
Direct to film is a transfer method built around a printed film rather than the garment itself. A printer lays down CMYK inks plus white onto a PET film coated with a release layer. While the ink is still wet, a thermoplastic adhesive powder is scattered across the surface, excess powder is shaken off, and the film goes through a curing step that melts the powder into the ink. The result is a flexible, stretchy transfer that sits on the film until you press it onto fabric.
That extra white layer is the reason DTF works on colors that defeat other methods. Cotton, polyester, blends, canvas, even some leathers and nylons accept it. You are not dyeing the fabric or relying on the shirt color to show through, so a bright white design on a black hoodie comes out bright white.
How It Differs From DTG and Sublimation
DTG printers print directly onto pretreated garments, which means you need the right pretreatment for each fabric and you cannot print a batch ahead of time. Sublimation requires polyester or a poly-coated surface, and the design becomes part of the fabric rather than sitting on top of it. DTF flips that: you print transfers in advance, store them, and press them whenever an order comes in. For a shop running on demand, that decoupling of printing from pressing is the whole appeal.
The Step-by-Step Workflow
A clean DTF workflow has five stages, and skipping any one of them shows up in the final product.
- Artwork preparation. The design is mirrored, sized to the final print dimensions, and saved with proper color separation. White ink is generated as a base layer under the color inks.
- Printing. The printer deposits color ink first, then white on top. Print quality depends heavily on nozzle health and humidity in the room.
- Powdering. Adhesive powder is applied while the ink is wet. Too little powder means poor adhesion; too much means a rough, gritty feel.
- Curing. The film passes through a heat source that gels the powder. Under-cured transfers peel in the wash. Over-cured ones lose elasticity.
- Pressing. The transfer is applied to the garment with a heat press at the right temperature, pressure, and time, then peeled either hot or cold depending on the film.
Film and Powder Choices Matter More Than People Admit
Not all PET films behave the same way. Double-sided matte film tends to release more cleanly and handles fine detail better, while glossy film can be faster to peel but is less forgiving with thin lines. Powder comes in fine, medium, and coarse grades. Fine powder gives a softer hand feel and is the better choice for small text and detailed artwork. Coarse powder is cheaper and more forgiving on large solid blocks of white, but you will feel it on the shirt.
Humidity is the silent killer here. In a dry room, powder clings unevenly and static sends it flying. Most experienced operators keep the workspace somewhere in the 40 to 60 percent relative humidity range and store film sealed when not in use.
Heat Press Settings That Actually Work
Every film and powder combination has its own sweet spot, but a reliable starting point for cotton and cotton blends is 320 to 340 degrees Fahrenheit for 15 to 20 seconds at medium to firm pressure. Polyester needs a lower temperature, often around 280 to 300 degrees, because high heat can scorch or dye-migrate through the transfer.
Peel temperature is not a preference, it is a specification. Some films are cold peel, meaning you wait until the transfer is fully cool before removing the carrier sheet. Others are hot peel. Peeling a cold-peel film too early pulls the design apart at the edges, and that damage is permanent.
Pressing on Polyester Without Ruining It
Dye migration is the biggest threat on synthetic fabrics. Dyes in the polyester can sublimate upward into your transfer when heated, turning a white design pink or gray. A low-temperature film and a slightly longer press time reduce the risk. Some shops also use a barrier layer or pre-press the garment briefly to drive off surface moisture before applying the transfer.
Where DTF Makes Sense for a Print on Demand Shop
DTF earns its place in a few specific situations, and knowing them keeps you from buying equipment you do not need.
- You sell designs that require bright white or metallic-looking whites on dark garments.
- You want to print a batch of transfers once and press them as orders arrive, rather than printing per order.
- You work with mixed fabrics, including cotton, blends, and canvas totes.
- You need small runs or one-offs without screen setup fees.
- You want to press transfers onto items a DTG printer cannot reach, such as pre-made hats or bags.
It is less appealing if you only print on white 100 percent cotton shirts in high volume, where DTG can be faster and cheaper per unit. It is also a poor fit if you never want to touch a heat press, because pressing is not optional in this workflow.
Costs and the Numbers Behind Them
A common mistake is comparing only ink cost. The real cost per transfer includes film, powder, ink, and the labor of powdering and curing. A typical A4-sized transfer on a mid-range setup lands somewhere between one and two dollars in materials, before you count your time. That is competitive with DTG on dark garments and dramatically cheaper than screen printing for short runs, but it loses ground on large runs where screen printing amortizes setup costs across hundreds of pieces.
Waste is the other number people forget. Misprints, powder contamination, and film jams all eat into margin. Tracking your actual yield per roll of film is more useful than tracking list prices.
Durability Expectations
A properly cured and pressed DTF transfer survives dozens of wash cycles when the garment is washed inside out in cold water and dried on low or hung to dry. High dryer heat is the most common cause of premature cracking, followed by washing with heavy items like jeans that abrade the print.
Common Mistakes That Cost Real Money
Most failures trace back to a handful of repeated errors. Under-curing the powder is the most expensive one, because the transfer looks fine until the first wash. Using the wrong powder grade for the artwork creates a stiff, sandy surface on designs that should feel smooth. Pressing without checking pressure means some transfers bond and others do not, even within the same batch. And storing uncured or partially cured film in a humid room ruins it before it ever reaches a shirt.
There is also a design-side mistake worth mentioning. DTF handles fine detail well, but extremely thin lines and tiny text under about six points can still break down during powdering. Slightly thickening hairlines in your artwork before printing saves a lot of wasted film.
Frequently Asked Questions
Is DTF printing better than DTG for dark shirts?
For dark and colored garments, DTF usually produces a more opaque, brighter result because the white ink layer is printed separately and transferred intact. DTG on dark shirts depends on pretreatment and can look slightly muted by comparison. The tradeoff is that DTF requires a heat press and adds a transfer step.
How long do DTF transfers last on a shirt?
With correct curing and pressing, most transfers hold up for 50 or more washes when the garment is washed cold, inside out, and tumble dried on low. Heat is the main enemy, so a hot dryer will shorten that lifespan significantly.
Can I print DTF transfers at home without a commercial setup?
Yes, many small sellers run desktop DTF printers with a separate powder shaker and curing oven. The main requirements are stable humidity, good ventilation, and a reliable heat press. It is a workable home setup, but it is not a plug-and-play hobby machine.
Do I need to pretreat fabric before pressing a DTF transfer?
No pretreatment is needed for DTF on cotton, blends, or most synthetics. The adhesive powder in the transfer does the bonding. You should still pre-press the garment for a few seconds to remove moisture and wrinkles before applying the transfer.
What temperature should I press DTF transfers at?
Cotton and cotton blends generally press well at 320 to 340 degrees Fahrenheit for 15 to 20 seconds. Polyester needs lower heat, often 280 to 300 degrees, to avoid dye migration and scorching. Always follow the film manufacturer's recommendation, since peel temperature varies by product.