
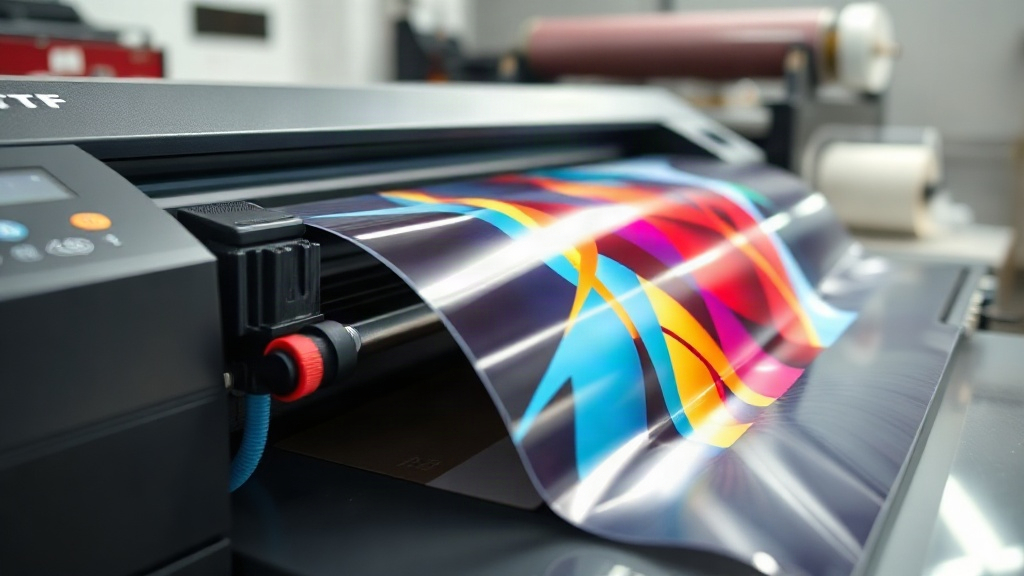
If you've been exploring custom apparel decoration, you've likely encountered DTF printing. Short for Direct-to-Film, this method has rapidly become a favorite among hobbyists and professionals alike. Unlike traditional techniques, DTF offers a unique blend of versatility, durability, and color vibrancy that's hard to match. In this guide, we'll walk you through the essentials of DTF printing, from the basic process to practical tips for achieving professional results.
What is DTF Printing?
DTF printing is a digital printing method where designs are printed onto a special film, coated with adhesive powder, and then heat-pressed onto fabric. The process begins with a digital printer that uses pigment-based inks to print the design onto a PET film. While the ink is still wet, a hot-melt adhesive powder is applied, and excess powder is shaken off. The film is then cured, and the transfer is ready to be applied using a heat press. This technique works on a wide range of fabrics, including cotton, polyester, blends, and even some non-textiles.
Why Choose DTF Printing?
DTF printing has several advantages that make it stand out:
- No weeding required: Unlike vinyl cutting, DTF transfers come ready to press, saving time and labor.
- Works on multiple fabrics: You can apply DTF transfers to cotton, polyester, nylon, and more, without pre-treatment.
- Vibrant colors: DTF inks produce bright, opaque prints, even on dark garments.
- Durability: When applied correctly, DTF prints withstand repeated washing without cracking or fading.
- Cost-effective for small batches: No minimum order quantities, making it ideal for custom projects.
How Does the DTF Process Work?
The DTF workflow can be broken down into a few key steps:
- Design preparation: Create or obtain a digital design. Ensure it's mirrored if your printer requires it (check your printer's settings).
- Printing: Load the PET film into your DTF printer and print the design using specialized DTF inks.
- Powder application: While the ink is wet, sprinkle hot-melt adhesive powder evenly over the design. Shake off excess.
- Curing: Place the film in a curing oven or under a heat source to melt the powder. This typically takes 2-3 minutes at around 160°C (320°F).
- Heat pressing: Preheat your heat press to the recommended temperature (usually 150-160°C). Place the transfer on the garment, press for 10-15 seconds with medium pressure, then peel the film while hot or cold (depending on the film type).
- Finishing: For best durability, press again with a protective sheet for a few seconds.
DTF vs. Other Printing Methods
How does DTF compare to other popular methods?
DTF vs. DTG
Direct-to-Garment (DTG) printing requires pre-treatment and works best on 100% cotton. DTF eliminates pre-treatment and adheres to more fabrics. However, DTG can produce a softer feel on light garments, while DTF has a slight hand (texture) due to the adhesive layer.
DTF vs. Vinyl
Heat transfer vinyl (HTV) requires weeding and layering for multi-color designs. DTF handles complex, full-color images in one press. Vinyl can be more durable on stretchy fabrics, but DTF offers greater design freedom.
DTF vs. Screen Printing
Screen printing is cost-effective for large orders but involves setup costs per color. DTF excels for small batches and detailed designs without color limitations.
Getting Started with DTF Printing
Ready to try DTF? Here's what you'll need:
- DTF printer: Options range from converted inkjet printers to dedicated DTF machines.
- DTF inks: Pigment-based inks designed for DTF.
- PET film: Special coated film for DTF transfers.
- Adhesive powder: Hot-melt powder (TPU) for bonding.
- Heat press: A reliable heat press with accurate temperature and pressure control.
- Curing oven: Optional but recommended for consistent curing.
Start with a small setup to learn the nuances. Many beginners purchase pre-printed DTF transfers to test the application process before investing in a printer.
Tips for Successful DTF Transfers
- Control moisture: Humidity can affect powder adhesion. Store film and powder in a dry environment.
- Test your press: Every heat press varies. Use a temperature gun to verify settings.
- Press parameters: Follow the film manufacturer's recommendations for temperature, time, and pressure.
- Peel technique: Some films are hot-peel, others cold-peel. Knowing the difference prevents smudging.
- Wash care: Wait 24 hours before washing. Turn garments inside out and avoid bleach.
Common Challenges and Solutions
Printer clogs
DTF inks contain pigments that can settle. Regular printing and maintenance cycles keep nozzles clear.
Powder not sticking
Ensure the ink is wet enough. If printing in a dry environment, increase humidity or adjust printer settings.
Transfer peeling
Insufficient pressure or incorrect temperature can cause poor adhesion. Increase pressure and verify temperature with a heat gun.
Frequently Asked Questions
What fabrics can I use with DTF printing?
DTF transfers work on cotton, polyester, blends, nylon, and even leather or canvas. They adhere well to both light and dark materials.
How durable are DTF prints?
When applied correctly, DTF prints can last as long as the garment itself, withstanding 50+ washes without significant fading or cracking.
Do I need a special printer for DTF?
You can convert an inkjet printer to use DTF inks, but dedicated DTF printers offer better reliability and print quality.
Can I use DTF on non-fabric items?
Yes, DTF transfers can be applied to items like canvas bags, mousepads, and even some plastics, provided they can withstand heat.
Is DTF printing cost-effective?
For small to medium batches, DTF is very cost-effective due to low setup costs and no minimum orders. For large runs, screen printing may be cheaper.
With its flexibility and impressive results, DTF printing is a valuable addition to any custom apparel toolkit. Whether you're a small business owner or a DIY enthusiast, mastering DTF opens up a world of creative possibilities.