
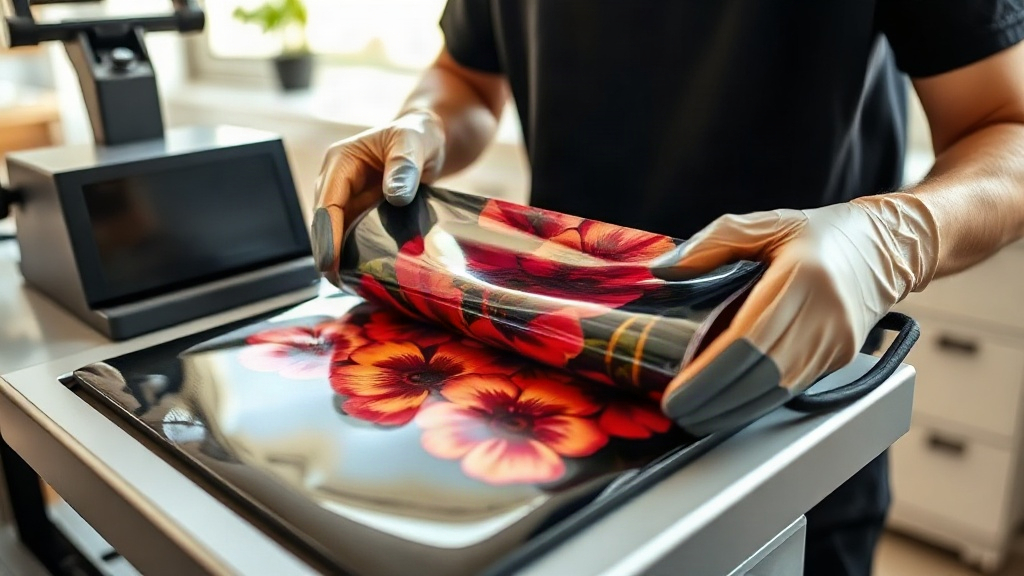
When you want custom t-shirts that pop with color and stand up to repeated washing, DTF transfers have become a go-to solution for both hobbyists and professional decorators. Unlike traditional screen printing or vinyl, DTF (Direct to Film) transfers offer a unique blend of flexibility, durability, and vibrant detail that works on almost any fabric. In this guide, you'll learn exactly how DTF transfers work, what equipment you need, and how to achieve professional results at home or in your shop.
What Are DTF Transfers?
DTF transfers are printed designs that are first created on a special PET film using a DTF printer. The printer lays down CMYK inks, followed by a white ink layer and a hot-melt adhesive powder. After the powder is cured, the transfer is ready to be applied to a garment using a heat press. The result is a soft, stretchable, and highly opaque print that bonds permanently to the fabric.
What sets DTF apart from other methods is its ability to print full-color, photographic-quality images without the need for weeding, masking, or multiple screens. It's a digital process that excels at short runs and complex designs.
Why Choose DTF Transfers for Your Projects?
There are several compelling reasons why DTF transfers have gained massive popularity:
- Works on nearly any fabric: Cotton, polyester, blends, even leather and denim. No need for special coatings or pre-treatment.
- Vibrant, detailed prints: DTF printers reproduce fine gradients, tiny text, and photorealistic images with impressive accuracy.
- No weeding or cutting: Unlike heat transfer vinyl, you don't have to cut around intricate shapes. The transfer is ready to press.
- Durable and stretchable: The adhesive and ink combination creates a strong bond that flexes with the fabric, resisting cracking and peeling.
- Cost-effective for short runs: No setup fees or minimum order quantities. Print one or one hundred with the same ease.
How DTF Transfers Are Made: Step by Step
Understanding the production process helps you troubleshoot and get better results. Here's a breakdown of the key steps:
1. Design Preparation
Start with a high-resolution image (300 DPI recommended) in CMYK color mode. Mirror the design horizontally before printing, as the transfer will be flipped when pressed. DTF printers use specialty RIP software that manages ink limits and white layer generation.
2. Printing
The DTF printer prints the design onto a PET film. First, the color inks are laid down, then a white ink layer is applied on top. The white layer provides opacity, allowing the design to show up on dark garments. Some printers also print a thin white base under the colors for extra vibrancy.
3. Powdering and Curing
While the ink is still wet, a hot-melt adhesive powder is sprinkled evenly over the film. The excess powder is shaken off, and the film is heated to melt the powder into the ink. This step is critical: under-curing leads to poor adhesion, while over-curing can cause the powder to burn and ruin the transfer.
4. Pressing
Once cured, the transfer is ready to apply. Set your heat press to the temperature and time recommended by your transfer supplier (typically 300-325°F for 10-15 seconds with medium pressure). After pressing, peel the film while it's hot or cold, depending on the film type. A final press with a cover sheet for a few seconds ensures a smooth finish.
DTF vs. Other Decoration Methods
How does DTF stack up against screen printing, DTG, and vinyl? Each has its strengths, but DTF shines in specific scenarios.
DTF vs. Screen Printing
Screen printing is cost-effective for large orders of simple designs, but it requires per-color setup and can't handle fine gradients easily. DTF has no setup costs and handles full-color images effortlessly, making it ideal for small batches and detailed artwork.
DTF vs. DTG
Direct-to-garment printing is great for 100% cotton, but it often struggles on dark colors and synthetic fabrics. DTF works on both, and the prints tend to be more durable and stretchable.
DTF vs. Heat Transfer Vinyl
HTV requires weeding and layering, which is time-consuming for multi-color designs. DTF eliminates weeding and allows for unlimited colors in a single transfer.
Choosing the Right DTF Transfer for Your Needs
Not all DTF transfers are created equal. When sourcing transfers, consider these factors:
- Film type: Hot peel vs. cold peel. Hot peel is faster but requires quick action; cold peel is more forgiving.
- Ink quality: Look for transfers that use high-quality inks for vibrant colors and washfastness.
- Adhesive: The powder must be evenly applied and properly cured for a strong bond.
- Size and quantity: Order custom sizes to fit your design without waste.
If you're not ready to invest in a DTF printer, you can order custom DTF transfers from a reputable supplier. Many companies offer small minimums and fast turnaround, so you can test the waters before scaling up.
Tips for Perfect DTF Application
Even with high-quality transfers, application technique matters. Follow these best practices:
- Pre-press the garment: This removes moisture and wrinkles, ensuring a smooth surface.
- Use the right pressure: Medium pressure is usually best. Too little pressure causes poor adhesion; too much can cause the image to spread.
- Mind the temperature: Stick to the transfer supplier's recommendations. Investing in an infrared thermometer helps you verify.
- Peel correctly: If using cold peel, wait until the film is completely cool before peeling. For hot peel, peel immediately in one smooth motion.
- Post-press for durability: A second press with a cover sheet for 5-10 seconds improves wash resistance.
Common Mistakes to Avoid
Learning from others' mistakes can save you time and money. Watch out for these pitfalls:
- Under-curing the powder: This leads to transfers that peel off after a few washes.
- Using too much pressure: It can cause the adhesive to bleed out, creating a messy edge.
- Pressing on a damp garment: Moisture creates steam, which prevents proper adhesion.
- Ignoring fabric type: While DTF works on many fabrics, very stretchy or heat-sensitive materials may require adjustments.
Frequently Asked Questions About DTF Transfers
How long do DTF transfers last?
With proper application and care, DTF transfers can last 50+ washes. To maximize longevity, wash garments inside out in cold water and avoid harsh detergents or fabric softeners.
Can I stretch DTF transfers?
Yes, DTF transfers are stretchable and will flex with the fabric. However, excessive stretching beyond the fabric's natural give may cause cracking over time.
Do I need a special printer for DTF?
Yes, DTF requires a dedicated DTF printer that uses pigment inks and can handle PET film. Alternatively, you can order transfers from a supplier and apply them with a standard heat press.
What fabrics work best with DTF?
DTF adheres well to cotton, polyester, blends, and even some synthetic materials like nylon. It's not recommended for fabrics with a heavy water-repellent coating.
How do I store DTF transfers?
Store unused transfers in a cool, dry place away from direct sunlight. Keep them flat or rolled to prevent creasing. Properly stored transfers can last several months.
Whether you're a small business owner or a DIY enthusiast, mastering DTF transfers opens up a world of creative possibilities. With the right knowledge and a bit of practice, you can produce stunning, durable custom apparel that your customers will love.