
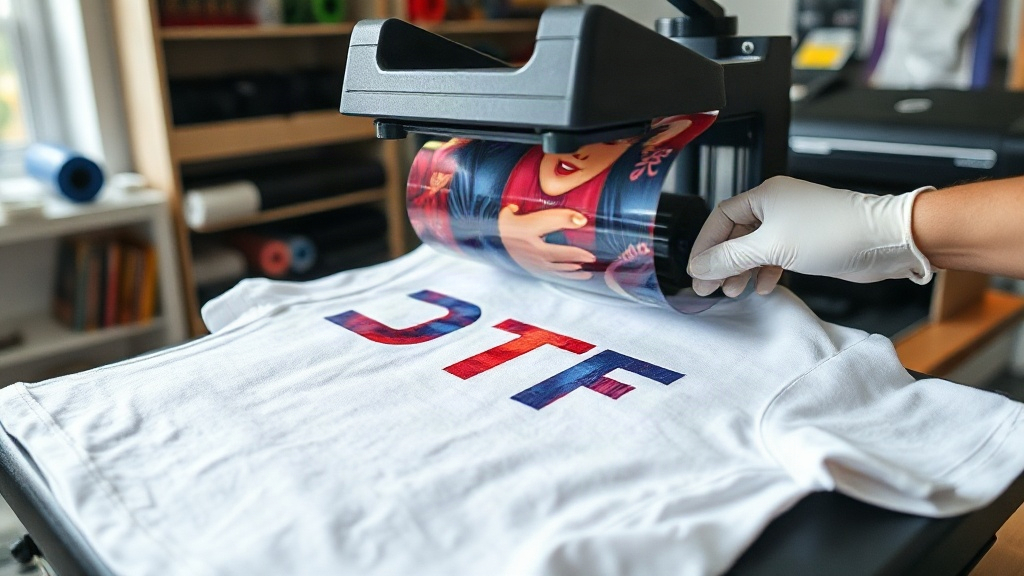
Imagine pressing a vibrant, detailed design onto a cotton tote bag or a polyester jersey without worrying about color limitations or fabric compatibility. That's the promise of dtf transfers, a digital printing technology that's rapidly becoming a favorite among crafters and small business owners. Unlike traditional screen printing, DTF (Direct to Film) transfers offer a versatile, cost-effective way to produce full-color graphics on demand. In this guide, we'll walk through the entire process, from preparing your artwork to achieving a durable, professional finish.
What Are DTF Transfers?
DTF transfers are printed on a special film using water-based inks, then coated with a thermoplastic adhesive powder. When heat-pressed, the adhesive melts, bonding the ink to the fabric. This method works on nearly any material, including cotton, polyester, blends, and even leather. The result is a soft, stretchable print that withstands repeated washing.
How DTF Differs from Other Printing Methods
Compared to vinyl cutting or screen printing, DTF shines in its ability to handle complex, multi-color designs without extra cost. You don't need separate screens or layers for each color; a single transfer captures all the details. Plus, DTF transfers eliminate the need for weeding, saving time and reducing waste.
The DTF Printing Process Step by Step
Understanding each stage helps you troubleshoot and improve your results. Here's a breakdown of the workflow:
- Design Preparation: Create your artwork in a vector or high-resolution raster format. Remember to mirror the image horizontally, as the film is pressed face-down.
- Printing: Use a DTF printer with white ink capability. The printer lays down a layer of white ink, followed by CMYK colors, on a PET film.
- Powdering: While the ink is still wet, apply hot-melt adhesive powder evenly over the print. Shake off excess.
- Curing: Melt the powder using a heat source, such as a heat press or oven, until it turns glossy. This step is crucial for wash durability.
- Pressing: Place the transfer on your fabric and press with a heat press at the recommended temperature and time (usually 325°F for 15 seconds).
- Peeling: Wait for the transfer to cool completely before peeling off the film. Cold peel yields sharper edges and better adhesion.
Choosing the Right Materials for DTF Transfers
Not all films and powders are created equal. For consistent results, invest in quality supplies:
- PET Film: Look for films designed specifically for DTF; they must withstand high temperatures without curling.
- Ink: Use DTF-specific pigment inks. Regular inks may clog printheads or fail to bond.
- Adhesive Powder: Choose a fine, consistent powder. TPU-based powders offer excellent elasticity and wash resistance.
- Fabric: While DTF works on many materials, pre-treating dark or stretchy fabrics can improve results. A quick press before transferring removes moisture and wrinkles.
Tips for Flawless DTF Transfers
Even with the right equipment, small mistakes can ruin a print. Here are practical tips from experienced users:
1. Master Your Heat Press Settings
Temperature, pressure, and time are critical. Too little heat and the powder won't melt; too much and the film may warp. Always test with a scrap piece first. A common starting point is 325°F (160°C) for 15 seconds with medium pressure. Adjust based on your fabric and transfer size.
2. Handle the Film Carefully
Oils from your fingers can prevent proper adhesion. Wear gloves when handling the film, and store unused transfers in a dust-free, dry environment.
3. Avoid Over-Stretching
When pressing stretchy fabrics, stretch them slightly before pressing. This prevents the transfer from cracking when the garment is worn.
4. Cool Down Before Peeling
Patience is key. Peeling while hot can cause the design to lift or smear. Wait until the transfer is completely cool to the touch.
Common Applications for DTF Transfers
From custom apparel to promotional items, DTF transfers open up a world of possibilities:
- Custom T-shirts: Ideal for small batches with intricate designs.
- Sportswear: The stretchable prints move with the fabric.
- Denim Jackets: Add bold graphics to denim without heavy feel.
- Canvas Bags: Create detailed logos and artwork.
- Corporate Gifts: Personalize items like mouse pads and aprons.
Frequently Asked Questions About DTF Transfers
How long do DTF transfers last?
With proper application and care, DTF prints can last 50+ washes. Turn the garment inside out and wash in cold water to extend life.
Can I use DTF transfers on dark fabrics?
Absolutely. The white ink base makes colors pop on dark backgrounds. Just ensure you use enough white ink for opacity.
What's the difference between DTF and DTG?
DTG (Direct to Garment) prints directly onto the fabric, while DTF uses a transfer film. DTF often produces more vibrant colors on dark shirts and works on more fabric types.
Do I need a special printer for DTF?
Yes, you need a printer with white ink channels and DTF-compatible inks. Many convert Epson printers for this purpose.
How do I store unused DTF transfers?
Keep them in a cool, dry place away from direct sunlight. Place them in a sealed bag to prevent dust and moisture.
With practice, dtf transfers can become your go-to method for custom printing. Whether you're a hobbyist or a business owner, the flexibility and quality are hard to beat. Start with small projects, refine your technique, and soon you'll be producing professional-grade apparel that delights customers and friends alike.